- Help
- Billing
Installment Plans
Installment plans make it easy to manage payments by breaking them into smaller, scheduled invoices.
- An installment plan lets a payer split a total amount into multiple payments over time.
- Invoices are automatically created for each installment when an account is enrolled.
- You can edit invoices individually or apply changes to all invoices in the plan.
- There is no limit to the number of installment plans you can create.
- You can enroll multiple accounts in a single plan.
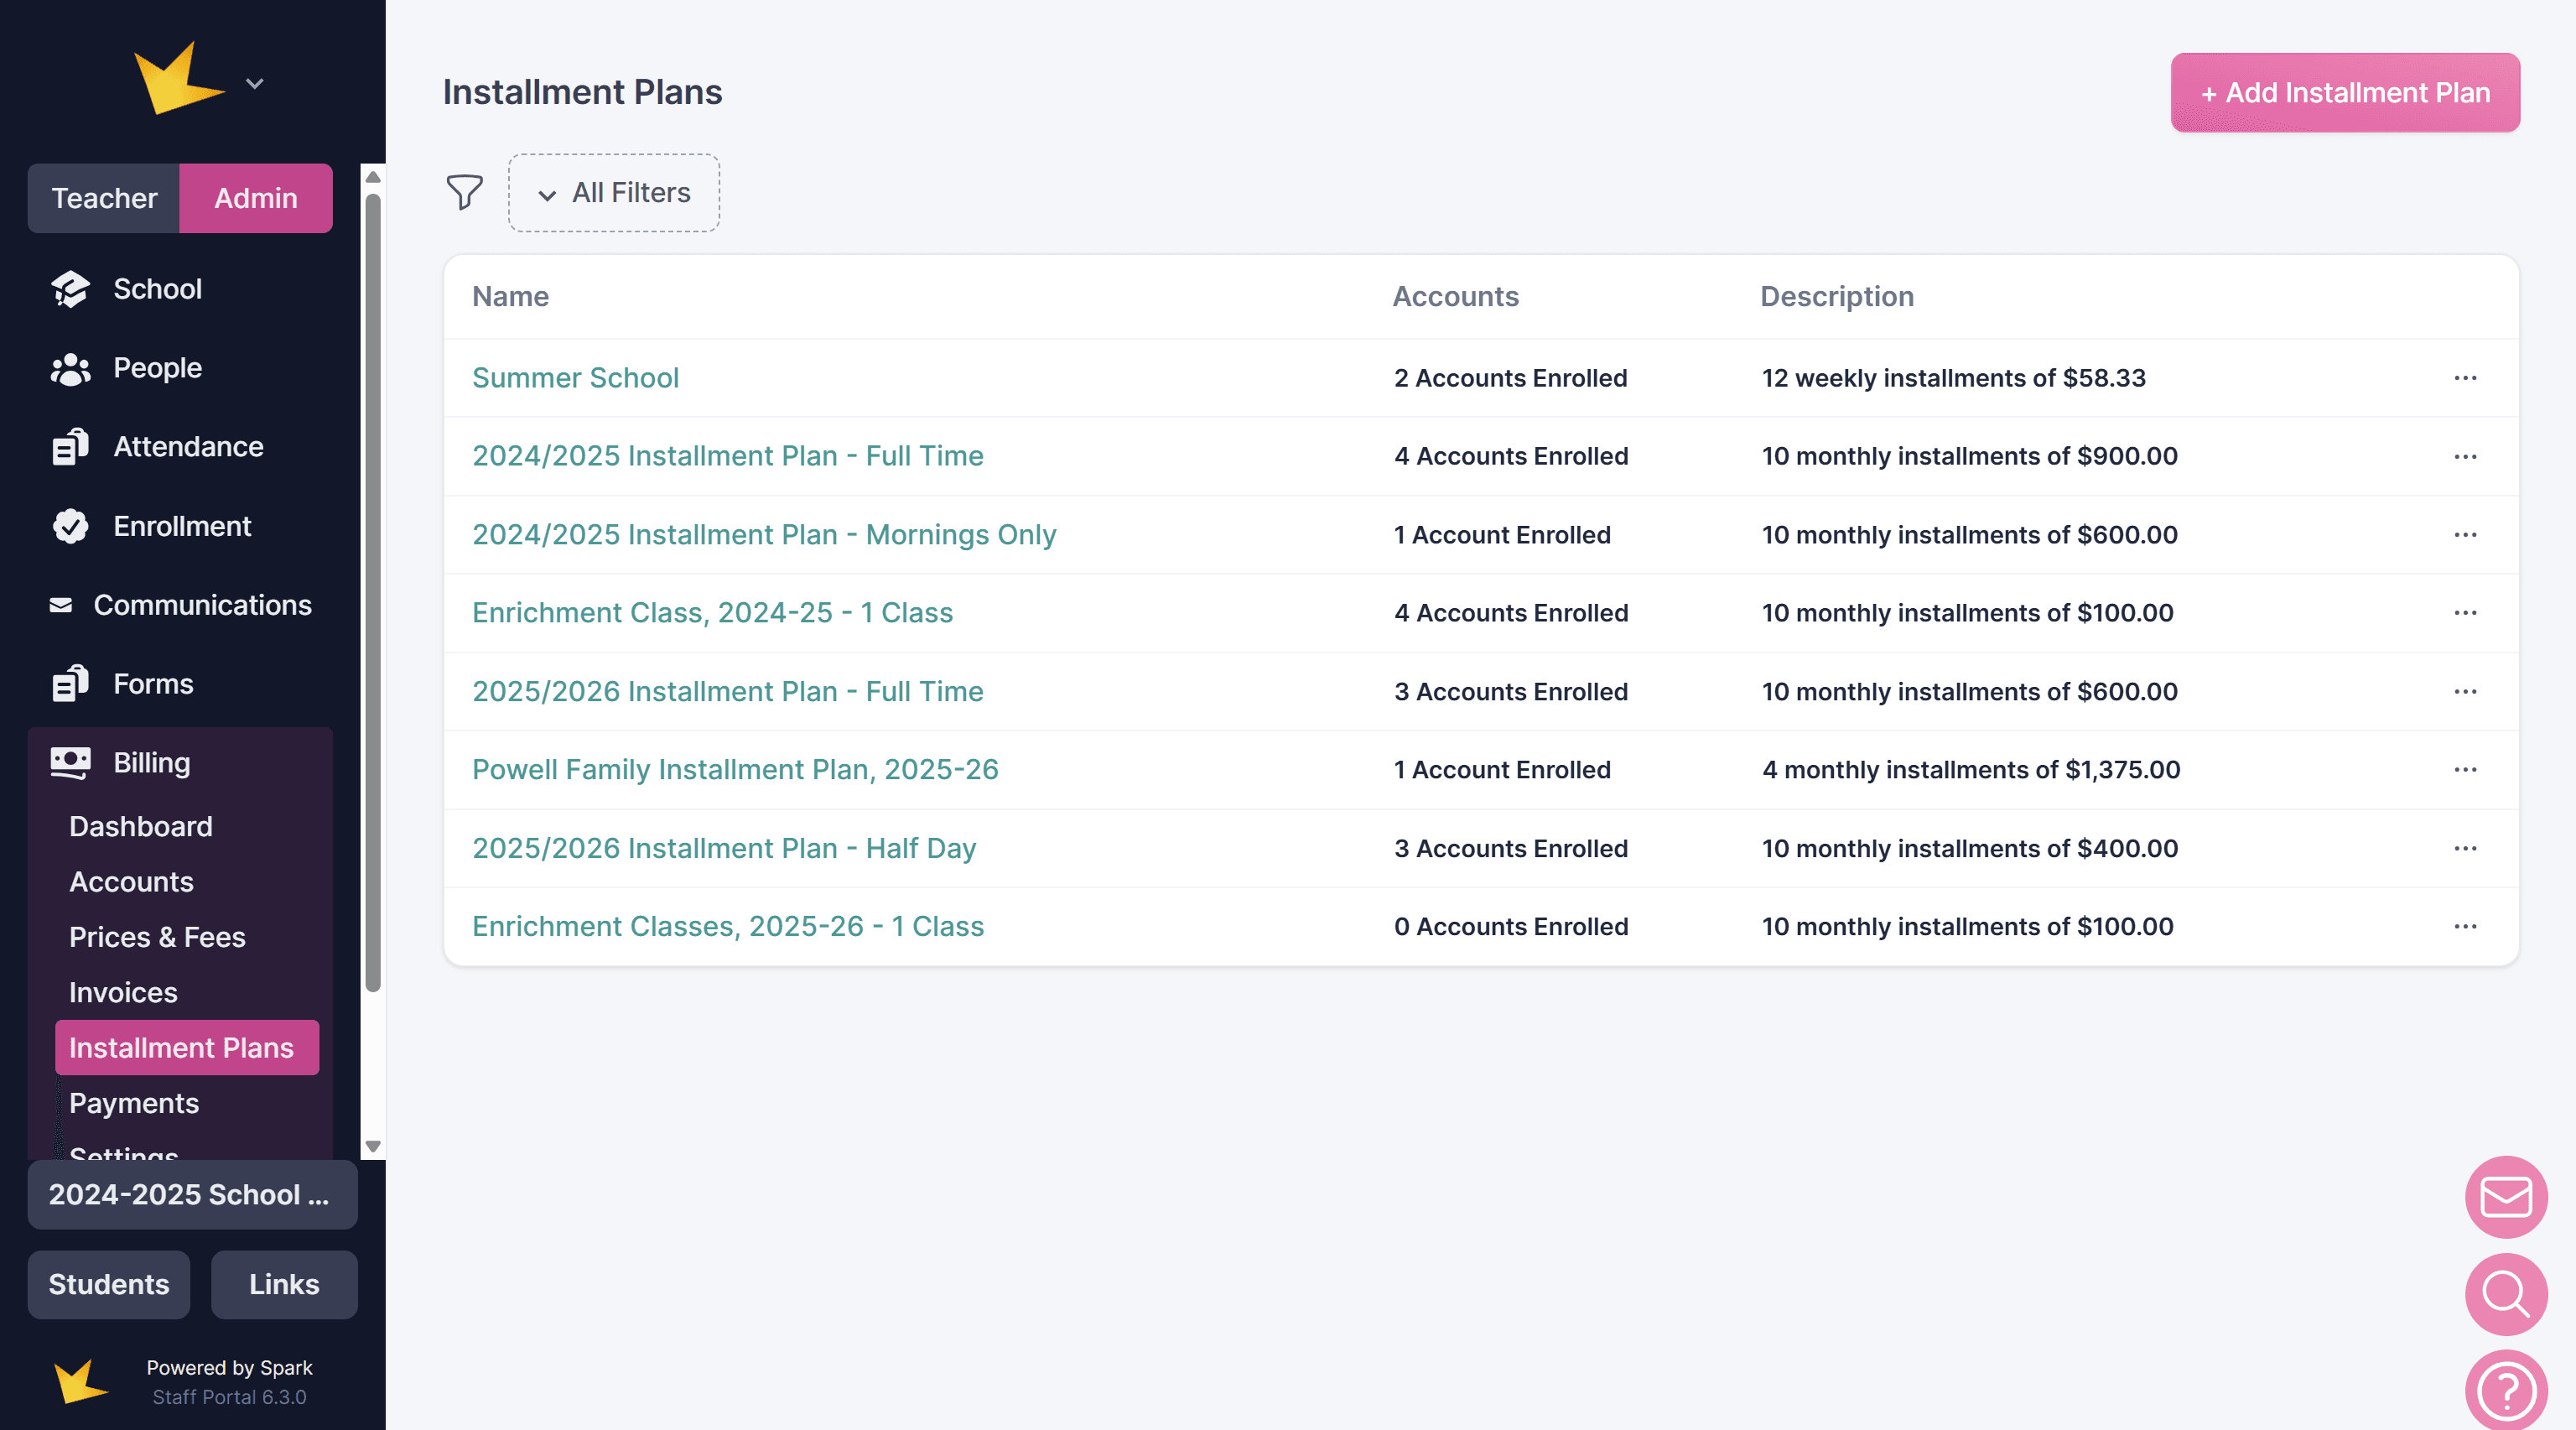
Creating Installment Plans
Installment plans can be created from either the Installment Plans page or from within a Billing Account.
Before creating an installment plan:
- A billing account must already exist.
- It is recommended that you create charges on the account first. Building installment plans from charges ensures the plan accurately reflects the fees owed and keeps account statements organized.
- To customize the invoices generated by installment plans (including your school logo and invoice details), configure your settings under Billing → Settings. See Billing Settings for more information.
Creating an Installment Plan from a Billing Account
- Go to Billing → Accounts and open the desired account.
- Select the Statements tab.
- Verify that one or more charges have been created for the account. If needed, create a charge first. (Learn more about creating charges here.)
- Click Installment Plan.
- Select the charge(s) and line item(s) to include in the plan, then click Continue.
- In the Installment Plan Builder, review and configure the plan:
- Plan name
- Line items and amounts
- Installment schedule (monthly, weekly, quarterly, or custom)
- Due dates
- First invoice date
- Available payment methods
- Click Create when the plan is complete.
Creating an Installment Plan from the Installment Plans Page
- Go to Billing → Installment Plans.
- Click + Add Installment Plan.
- Choose whether to create:
- A Plan Template for reuse across multiple accounts, or
- A plan for a single billing account.
- Complete the Installment Plan Builder by following the steps above.
- Click Create.
Creating Installment Plans in Bulk
If you need to create installment plans for multiple accounts, you can do so from the Account Charges page.
Before creating plans in bulk, ensure each account has one or more charges. Charges can be created individually within each account or in bulk from the Accounts page.
To create installment plans in bulk:
- Go to Billing → Accounts → Account Charges.
- Select the charges you want to include in installment plans.
- Click Create Installment Plans.
- Review the generated plans and make any necessary adjustments.
- Click Create Plans.
Creating installment plans from charges helps ensure each generated invoice is accurately tied to the appropriate fees while allowing you to efficiently set up payment schedules for multiple accounts.
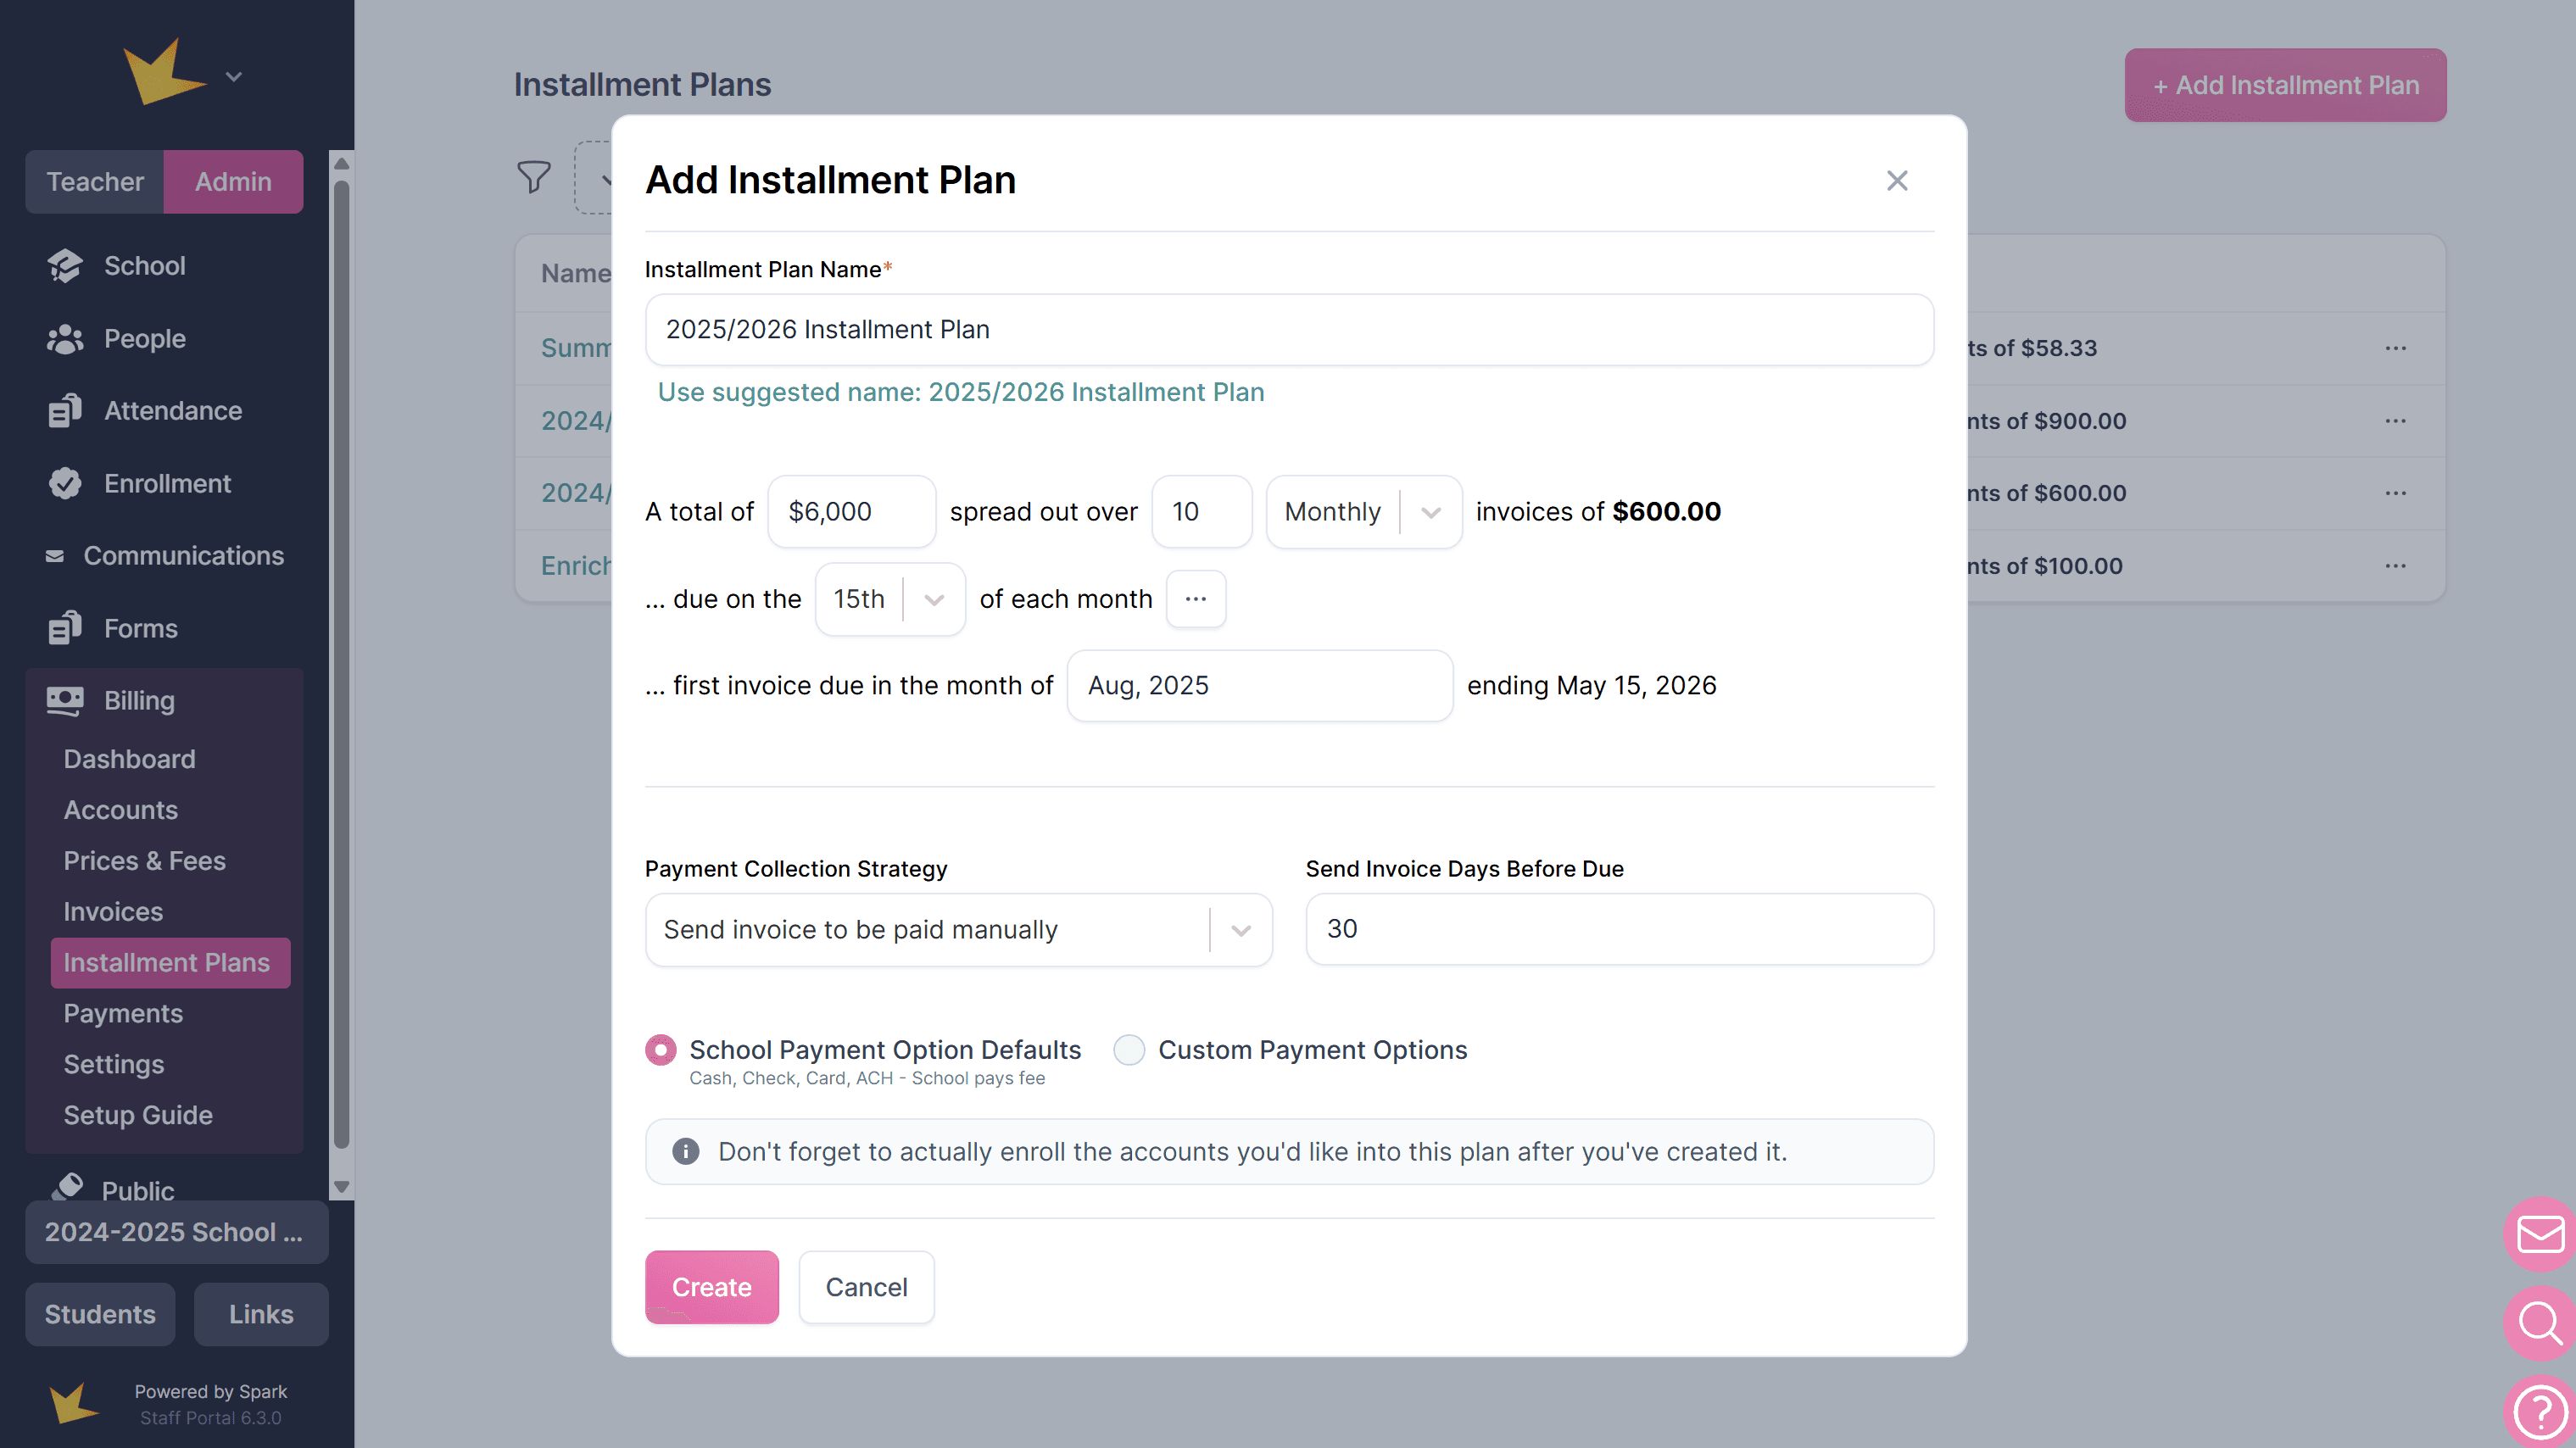
Enrolling Accounts in a Plan Template
If an installment plan template was created on the main Installment Plans page, multiple accounts can be enrolled into it.
To enroll an account into an installment plan:
- Navigate to Installment Plans and open the plan template.
- Click Enroll Account at the top of the page.
- Select the desired account(s) from the dropdown menu.
- Customize the plan details as needed to tailor it to the account(s).
- Click Create.
- Confirm the invoices that will be created, then click Commit Changes to finalize the enrollment.
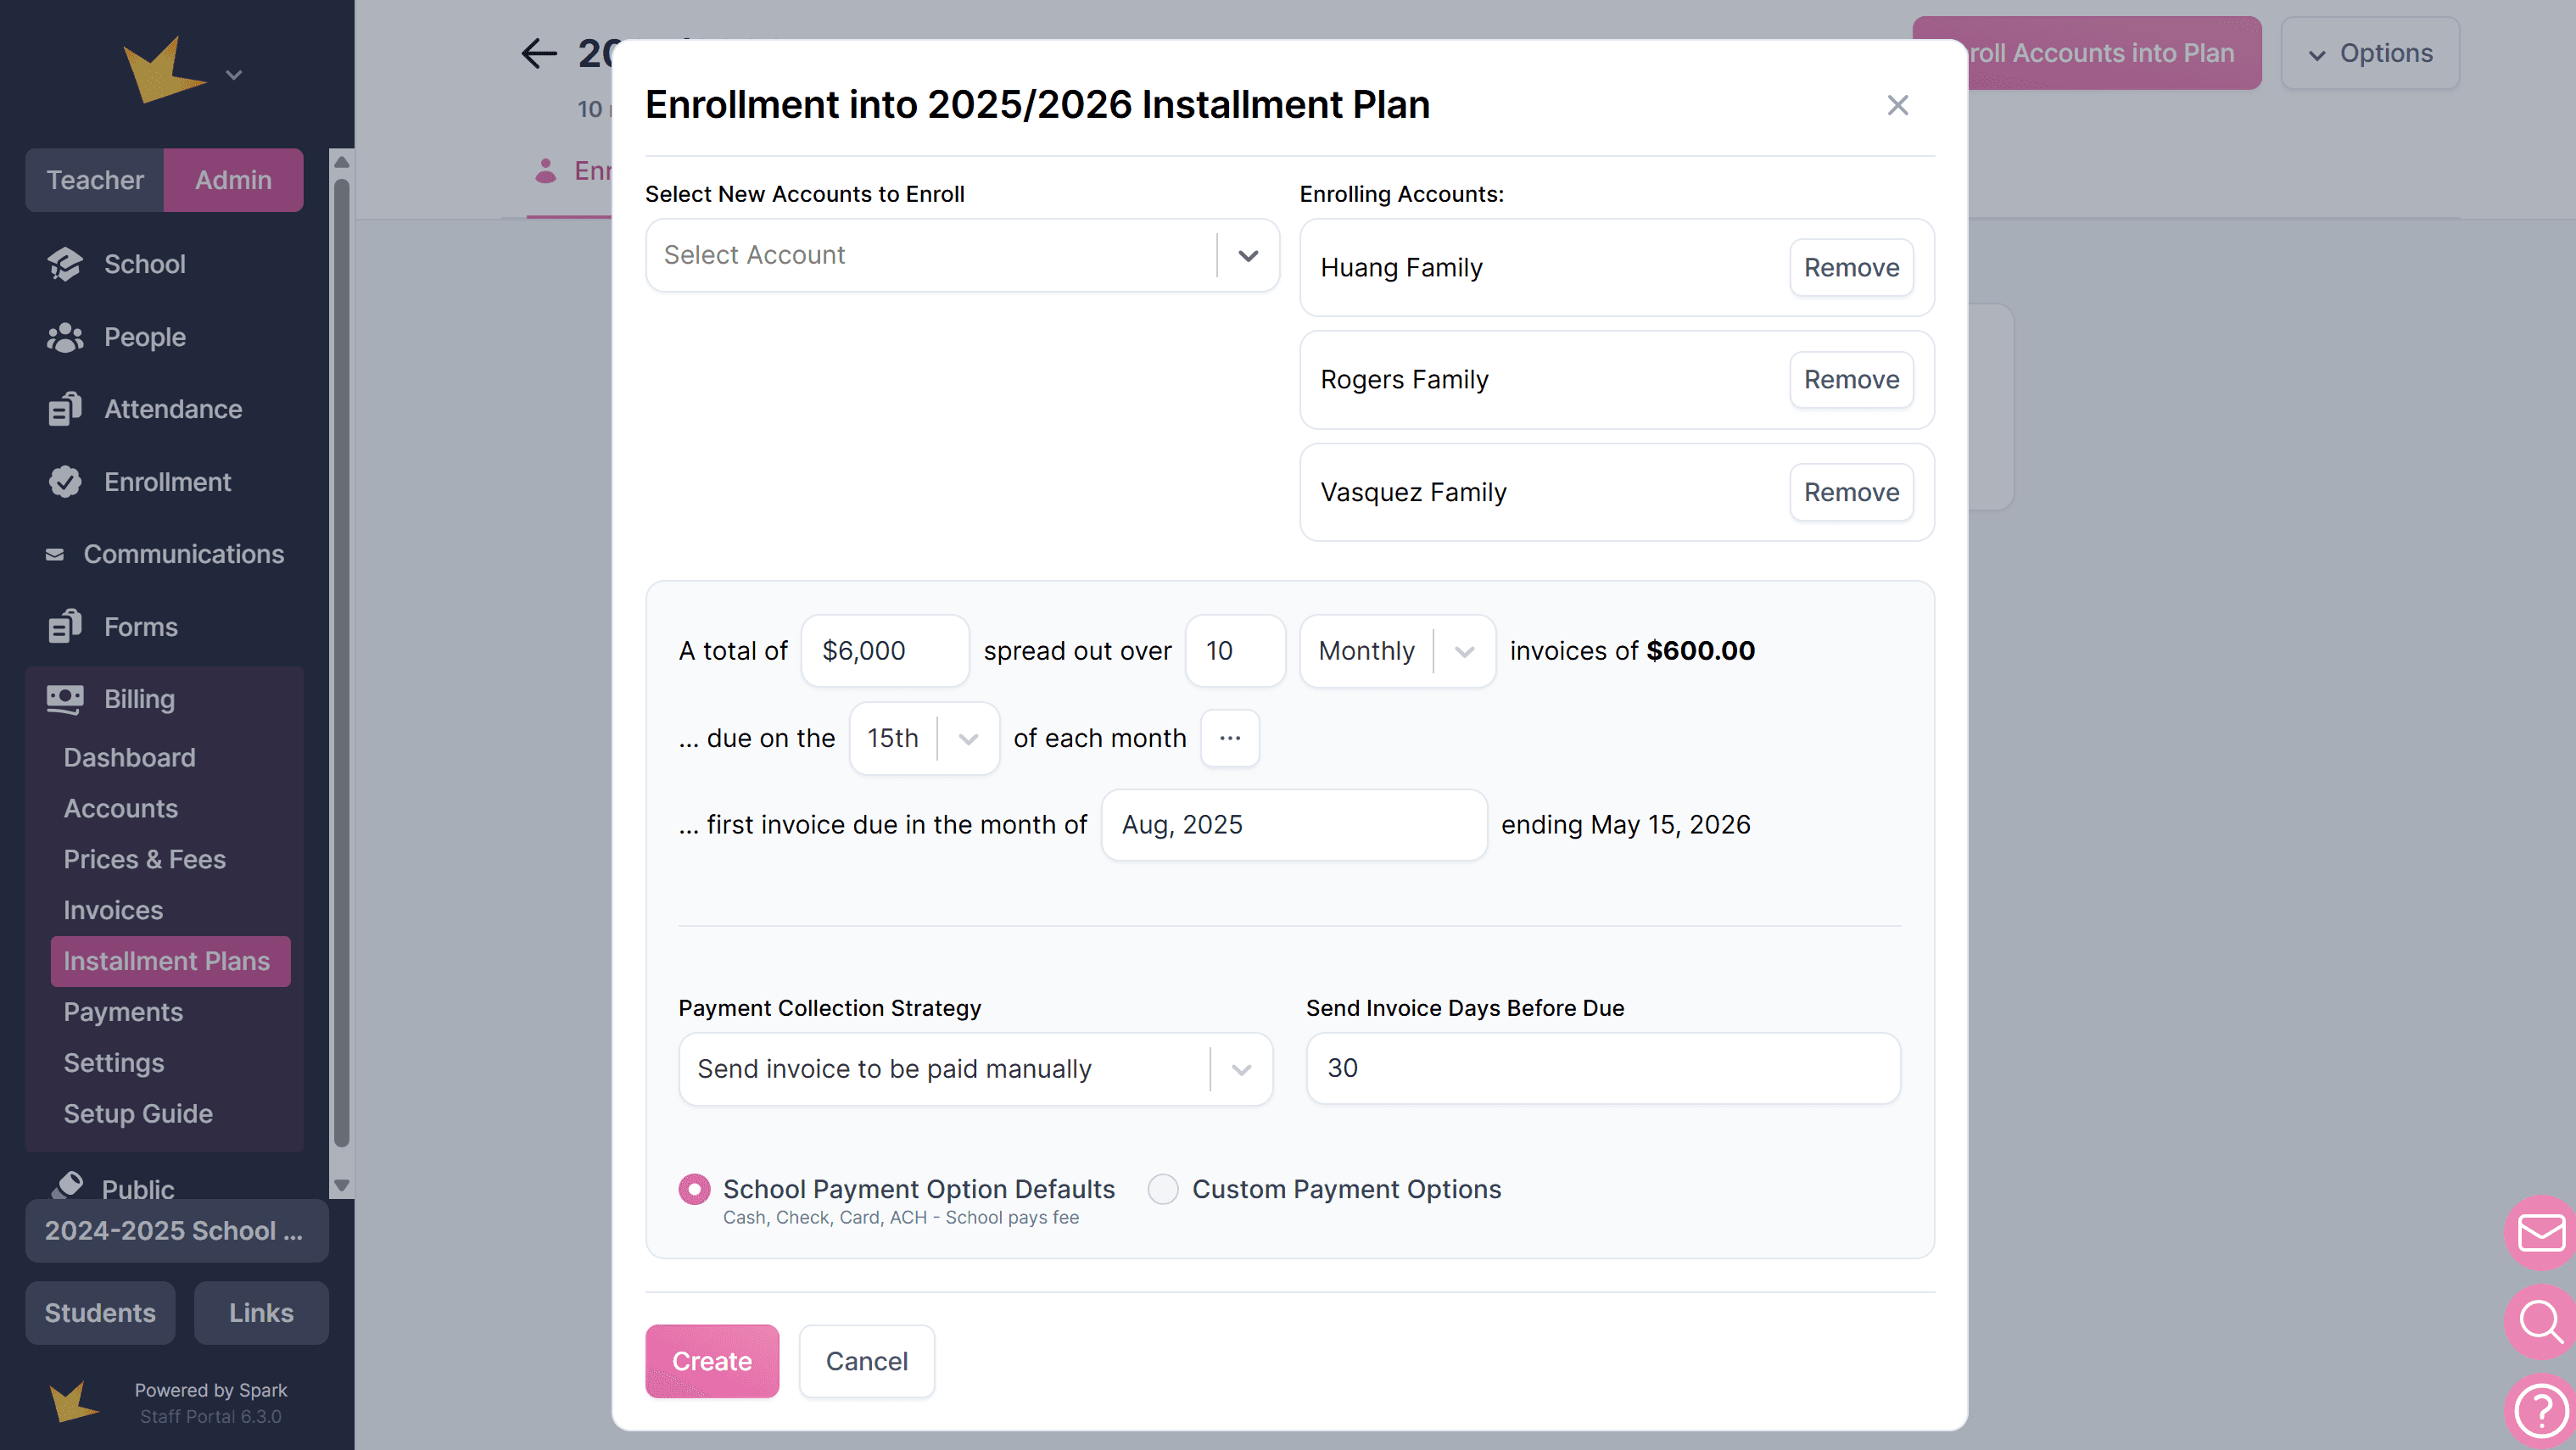
Editing Installment Plans
After creating an installment plan and enrolling accounts, you may want to:
- Update the installment plan template details
- Add or remove accounts from plan templates
- Edit one or more of the generated invoices
- Add invoices to the plan
- Merge remaining invoices into one, or recast them into a new schedule
Note: Changes to the plan details will not affect accounts that were already enrolled. To change the details for these accounts, first delete the accounts enrolled, then re-enroll with the new plan details.
Editing Plan Template Details
To edit the details of an installment plan template:
- Navigate to Installment Plans and open the plan template.
- Go to Settings.
- Update the plan details as needed and click Save to apply the changes.
Note: Editing the plan details will not affect accounts that are already enrolled in the plan.
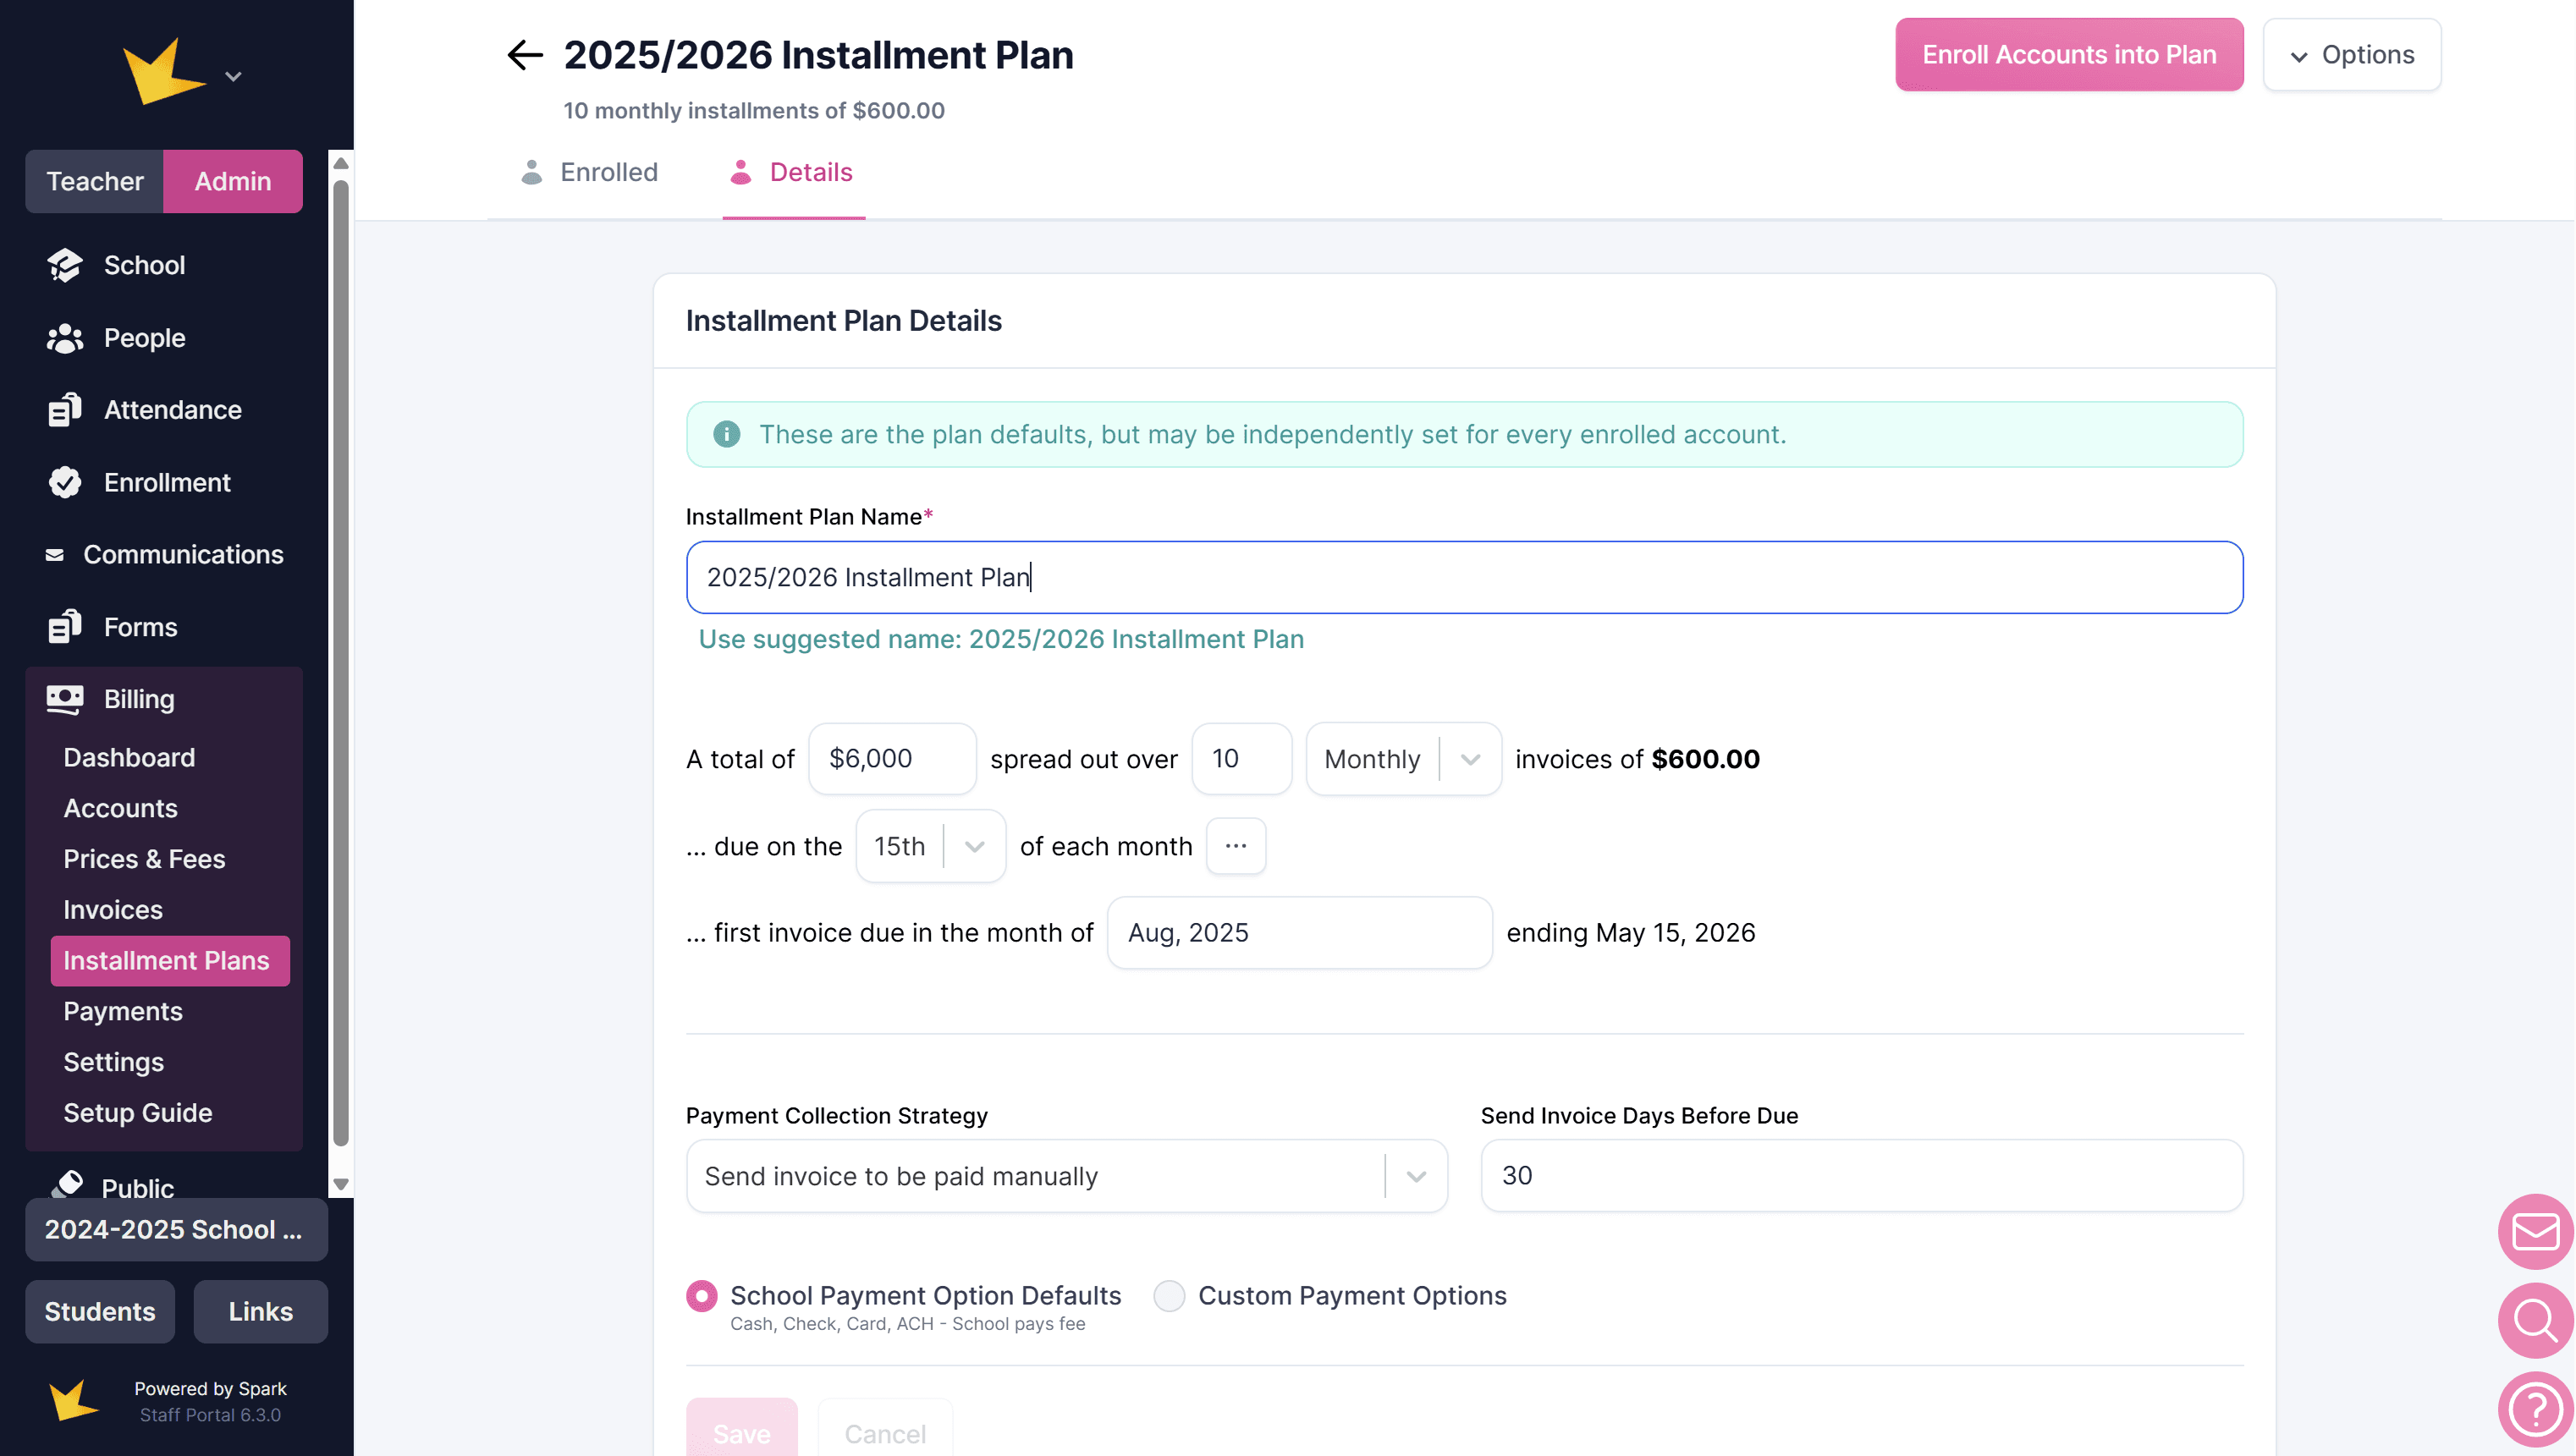
Adding or Removing Accounts in a Template
Accounts can be added to or removed from an installment plan template.
- Navigate to Installment Plans and open the plan template.
- Click Enroll Accounts at the top right to add more.
- To delete accounts,
- Open the enrolled account
- Select all the invoices that were created
- Click Delete.
Editing Installment Plan Invoices
Invoices generated by an installment plan can be edited individually or in bulk after they are created and before they have been paid.
Edit an Individual Invoice
To edit a single invoice generated by an installment plan:
- Locate the invoice:
- Invoices created directly for an account through an installment plan:
Go to Billing → Accounts, open the account, and view the Statements or Invoices tab. - Invoices created through an Installment Plan Template:
Go to Billing → Installment Plans, open the installment plan template, and select the enrolled account to view its invoices.
- Invoices created directly for an account through an installment plan:
- Open the invoice you want to edit.
- Make the necessary changes.
- Click Save to apply the updates.
Edit Multiple Installment Plan Invoices in Bulk
To edit multiple invoices at once, first locate the list of invoices generated by the installment plan.
- Find the installment plan invoices:
- For invoices created directly for an account through an installment plan:
Open the account, go to the Statements tab, and click the installment plan name under the Balance section. - For invoices created through an Installment Plan Template:
Go to Billing → Installment Plans, open the installment plan template, and select the enrolled account to view its invoices.
- For invoices created directly for an account through an installment plan:
- Select the invoices you want to update.
- Click Edit Invoices.
- Select the invoice details you want to modify and make the necessary changes.
- Click Next: Confirm Changes to # Invoices.
- Carefully review the changes.
- Click Commit Changes to apply the updates.
Note: Bulk edits cannot be applied to invoices that have already been paid.
Adding Invoices to a Plan
An invoice can be added to the list of invoices within an installment plan at any time. This must be done within one account's plan.
To do so, first locate the list of invoices generated by the installment plan.
- Find the installment plan invoices:
- For invoices created directly for an account through an installment plan:
Open the account, go to the Statements tab, and click the installment plan name under the Balance section. - For invoices created through an Installment Plan Template:
Go to Billing → Installment Plans, open the installment plan template, and select the enrolled account to view its invoices.
- For invoices created directly for an account through an installment plan:
- Then, click + Add New Invoice and build the invoice. This will be added to the list of scheduled invoices within the plan.
Merging or Recasting Installment Plan Invoices
Invoices that remain unpaid may be merged into one invoice, or recast to follow a new installment schedule.
To do so, first locate the list of invoices generated by the installment plan.
- Find the installment plan invoices:
- For invoices created directly for an account through an installment plan:
Open the account, go to the Statements tab, and click the installment plan name under the Balance section. - For invoices created through an Installment Plan Template:
Go to Billing → Installment Plans, open the installment plan template, and select the enrolled account to view its invoices.
- For invoices created directly for an account through an installment plan:
- Then, select the invoices to be merged or recast by clicking the checkboxes.
- Finally, click Actions at the top right and select either Merge Remaining into One Invoice or Recast Remaining Schedule.